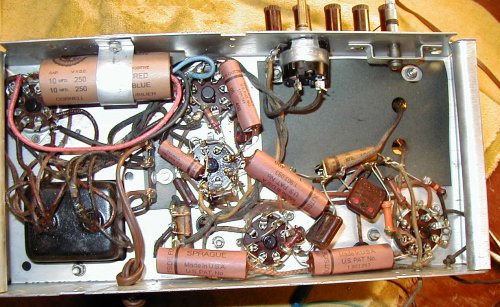
Here is a typical radio that has been "restored" with modern capacitors.
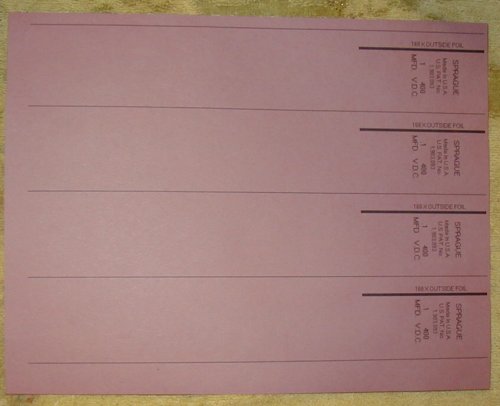
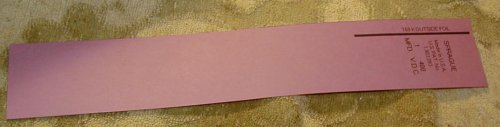
The first step is to make the reproduction paper shell for the capacitor. I create these on my computer using a simple image editing program to produce the kind of sheet you see in the picture. In this case I am trying to reproduce Sprague capacitors so I take a real sample and manually create a copy of it with text of various sizes and fonts. The results are then printed on colored printer paper. The sheet I chose here isn't the best match for these paper capacitors; I should have used something with more of an orange tint. Finally, I print as many copies of the shell as can fit on one sheet for the sake of economy. These are separated by the thin lines as a guide for cutting.
I then cut out the piece for a single capacitor.
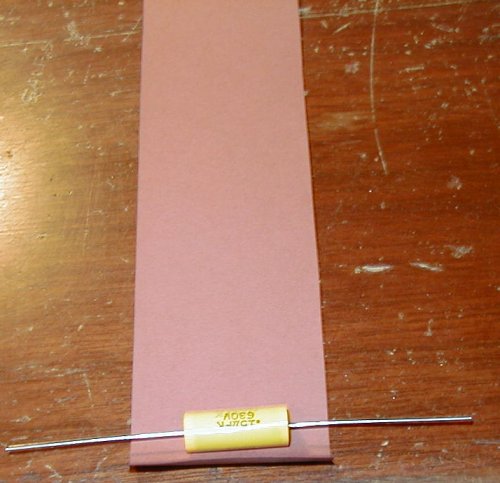
Next you take the replacement capacitor and roll it up in the paper strip. Make sure that all of the printing shows and that there is room to glue the end.
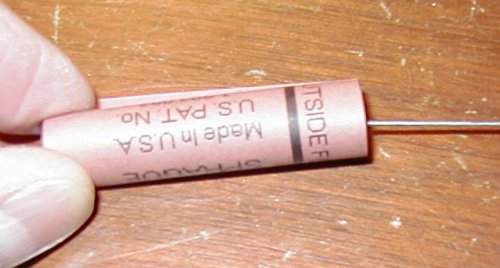
Then glue the end of the strip to the paper cylinder. I use a hot glue gun with a clear glue. Note that the side with the glue showing will be positioned against the chassis so that the glue won't be visible.
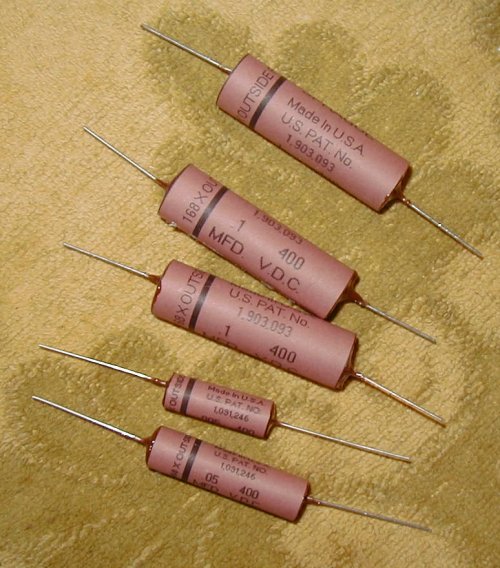
Here is the set of shells I made for our radio.

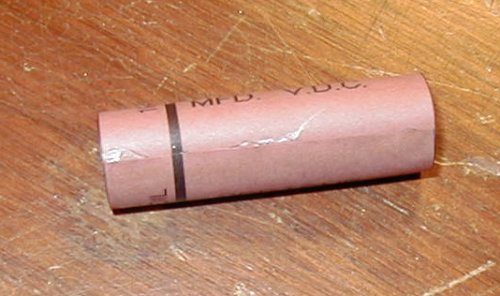
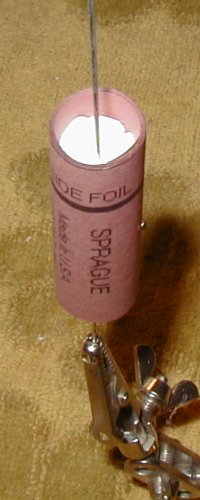
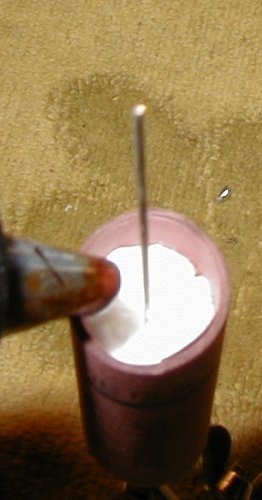
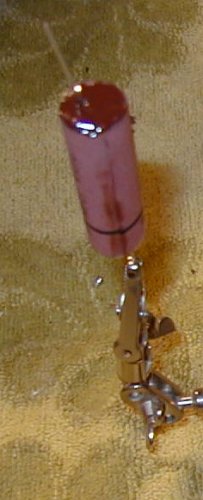
Next we insert the capacitor into the shell and stuff some paper (paper towel works good) into the end to protect the capacitor itself from the hot glue which we'll be adding. I use a small portable "third hand" to hold the capacitor during this stage. Then, using a brown hot glue, fill in the small cavity between the protective paper and the shell. Add enough glue to slightly overfill the space up the the end of the shell.
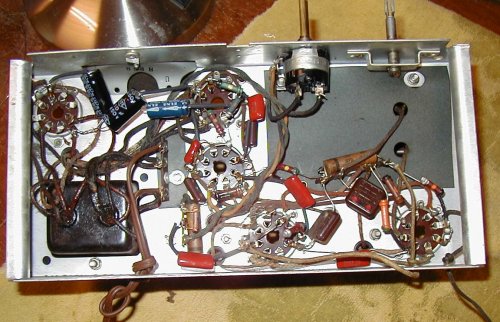
That's it! Here is the complete set of reproduction capacitors and another view of the radio as it now looks. Note that I also used similar techniques to disguise the electrolytic filter capacitor which was a Cornell Dubilier unit.