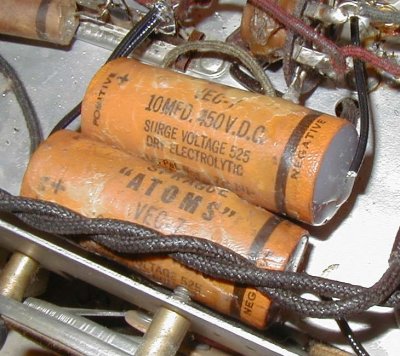
The first step is to remove the guts of the capacitor, leaving the paper shell which we'll use to disguise the new component. The easiest method is to slice the shell along the side that will be most hidden when replaced in the chassis. The shell can then be spread and separated from the capacitor's innards.

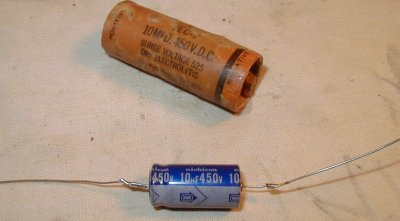
Next, seal the shell using a hot glue gun. Simply run a bead of glue along the gap and press the edges together, holding it for a few seconds until the glue sets. Then take the new replacement part and see how it will fit into the old paper shell. Modern electrolytics will always be small enough to fit inside the shells.
Center the new part inside the shell.
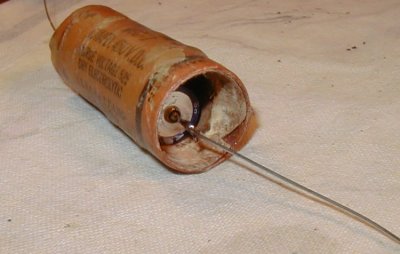
Stuff the ends with some paper, leaving about 1/4 inch deep hollow. I use almost anything that is around, in this case, a brown paper napkin.
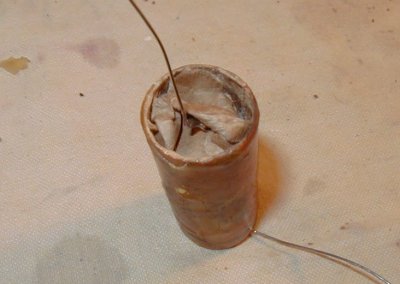
Set the entire thing into something that will hold it upright. Here I'm using a spool of solder. Then fill the hollow on each end with glue from a hot glue gun. Leave the first end plenty of time to harden before turning it over to do the other end.
Here is what it looks like when the glue is still liquid, before it has hardened and turned opaque.
Here is what it looks like when the glue has hardened. The color of the glue isn't that great for this purpose. It would be better if it were a dark brown. For a more authentic look, the ends could be painted.
Here is what it looks like inside the chassis.