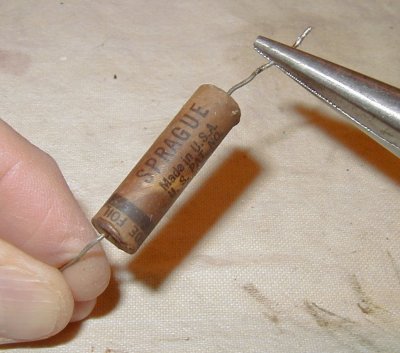
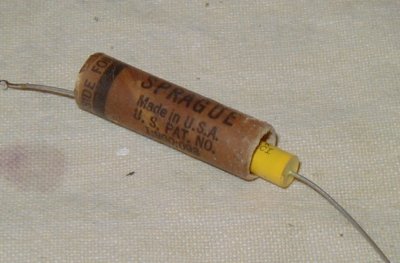
This is a typical paper capacitor, the cause of many failures in vintage radios.

The first step is to remove the guts of the capacitor, leaving the paper shell which we'll use to disguise the new component. The easiest method is to simply grab one lead with a pair of pliers, hold on to the capacitor's body with your fingers, and pull the guts out.
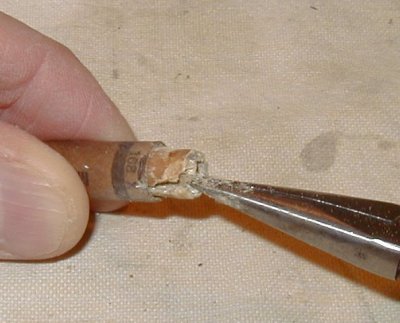
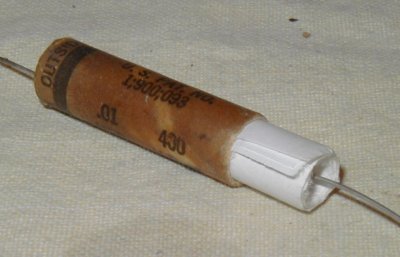
This is what is left when you do that.

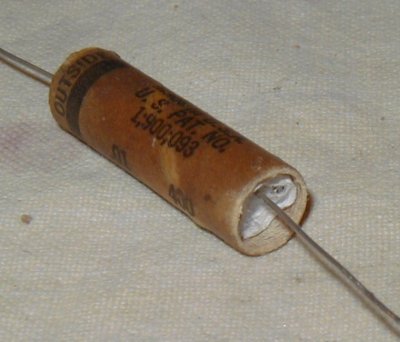
You might need to hollow out the shell if the insides didn't all come out with the first yank.
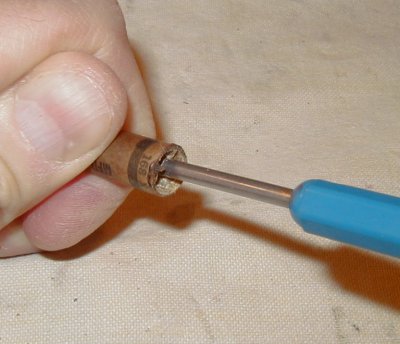
After you get something to grab on to, the innards will usually come out with another good tug.
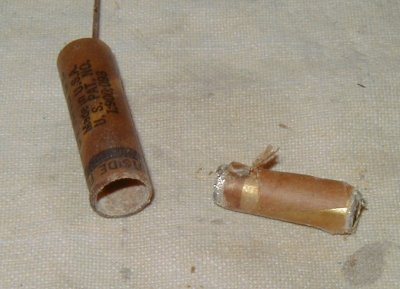
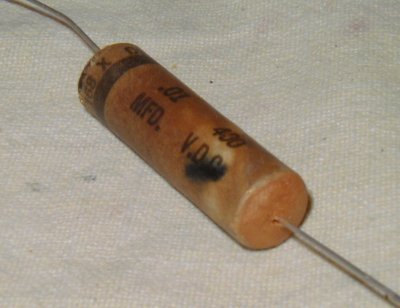
Here is the shell separated from the insides, which is the actual capacitor. You might want to have a look at this to see how these guys were actually made. They're simply two long stips of metal foil separated by a long strip of paper and then rolled up into a compact cylinder.
The next step is to see how the new replacement capacitor fits inside the paper shell. I use cheap (but reliable) metal film capacitors, which are always smaller than the paper capacitor's guts that I'm replacing.
Cut a strip of paper whose width is less than the width of the shell. About 1/4 to 1/2 inch smaller will do. Make the strip about eight inches long. Then roll the new capacitor up in the strip to increase its diameter. Try using the whole strip at first. See if this makes for a snug fit when jammed into the shell. If it is too big to fit, shorten the paper strip. If it is too loose, use a longer paper strip. We just want the fit to be tight enough so that the outer shell doesn't flop around too much.
When the fit is right, stuff the new part with its paper wrapper into the shell. Center it so that there is about the same space on each end.
Now take some dark brown modeling clay and fill in the ends. Smoothe it out and we have a pretty well disguised part. I have also used a dark brown colored hot-glue applied with a hot-glue gun. See the section on "Replacing Modern Capacitors with Reproduction Paper Capacitors" for examples.
Here is what it looks like in the circuit. I try and use the original old spaghetti when there is any present.
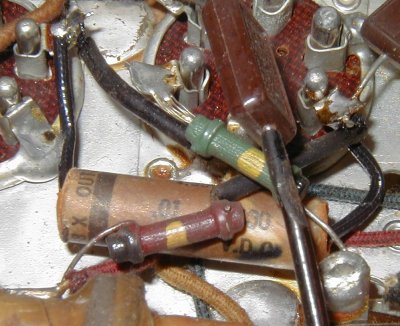
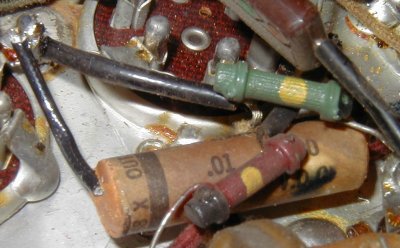
Here is another view. It sure doesn't scream "I've been restored" at you, does it?
Another method I have been using lately is to fill the ends of the capacitor with a brown colored hot glue. You can find this glue in craft stores or on the web. Here is another view. It sure doesn't scream "I've been restored" at you, does it?