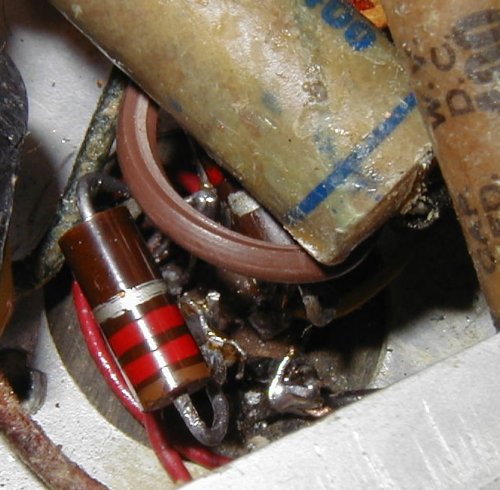
The first step is to remove the capacitor from the chassis.
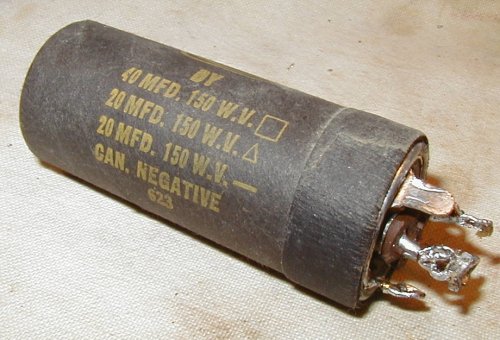
Next we separate the paper sleeve from the metal can. Use a thin flat piece of metal like a nail file for this. Try and limit the damage to one side so that it is easier to hide later on. You may need to slice the paper open using a razor blade or X-acto knife.

Now cut the can in half using a hacksaw. Don't breathe the dust, it is toxic!
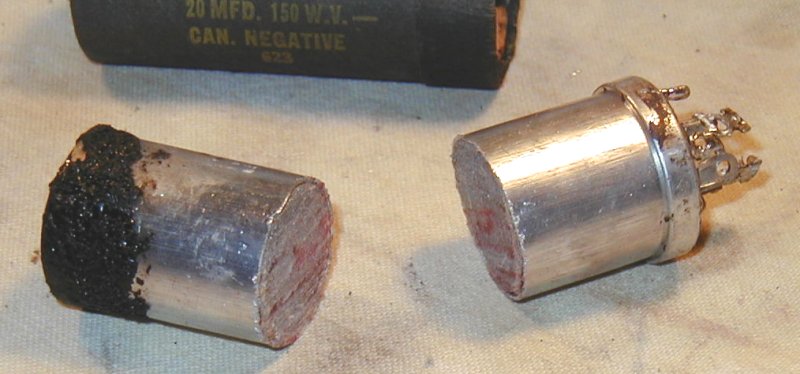
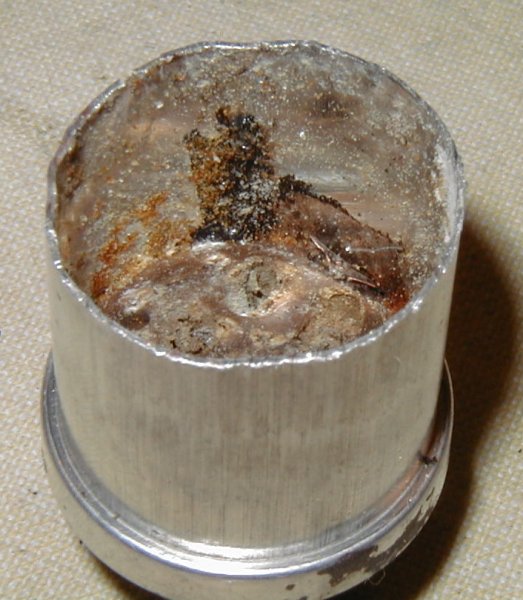
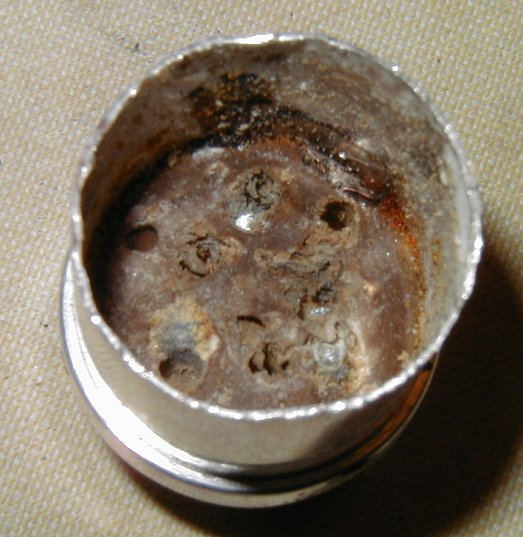
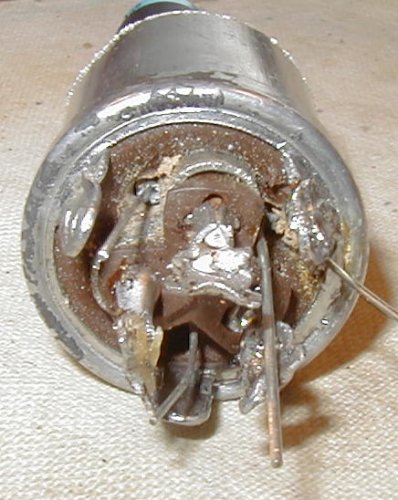
Hollow out the bottom part of the metal can (you can discard the top part). You need to get down to where you can see the metal contacts coming through from the bottom.
Drill a small hole near each of the metal contacts and one near one of the mounting tabs.
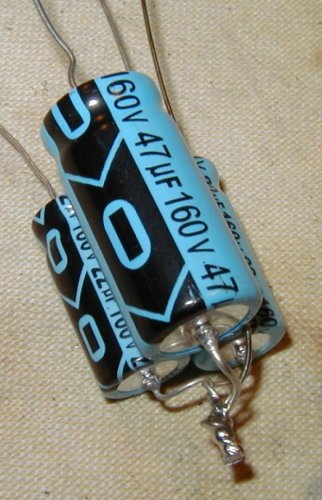
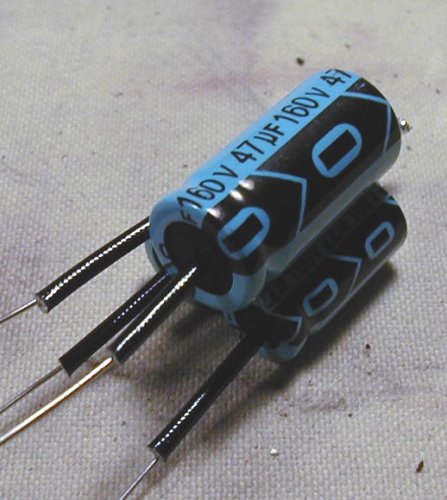
Assemble the replacement capacitors. Make sure the unit will fit in the can!
Place some spaghetti on each of the leads that will pass through the holes you drilled in the bottom.
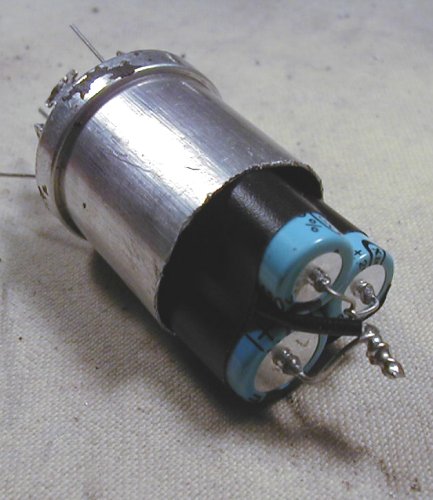
Use some electrical tape to hold the unit together and place it in the can, threading the wires through the holes. If the various sections of the original unit had different values, the replacement units will have different values too. Make sure the leads from the replacements go through the correct holes. The common negative wire will go through the hole near the mounting tab.
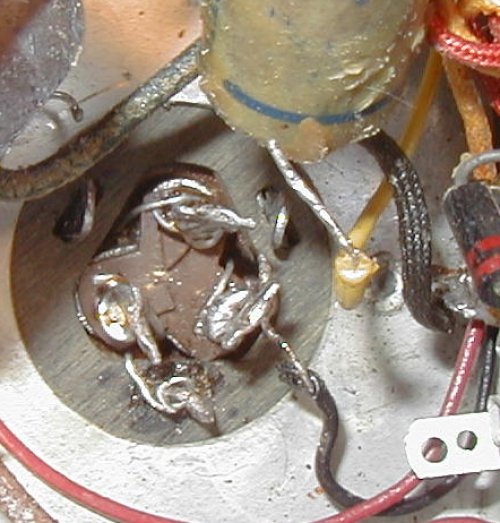
Here is a bottom view of the assembly prior to soldering.
Mount the can back in the chassis, reattach the leads from the circuit and solder all the connections.
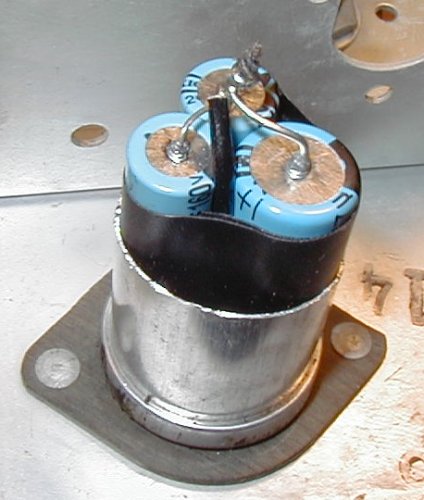
Here is the top view before replacing the paper sleeve.
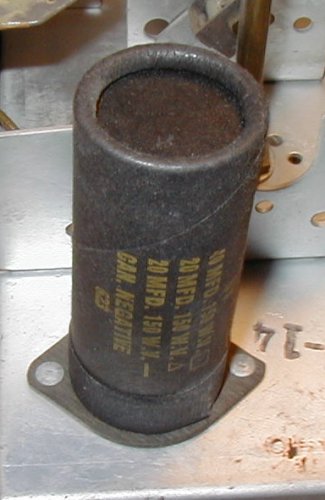
Here is what it looks like with the sleeve replaced. If you had to slit the paper sleeve open to remove it, you will want to glue it back together. In most cases, you can turn the sleeve so that the joint is hidden.
Here is the finished look from below.